


I fell in love with Google Photos as soon as it was released to the masses several years ago. Here was a tool that would allow users to back up pics to the cloud-based service, and access them many years down the line for free, and conveniently from multiple devices. The app, which is always updated with several features, is a must-have tool for me, among other millions of people across the globe that have taken advantage of what it offers.
Perhaps the most important feature of the app is that it is always running (if you enable that in your settings – both for the app and phone battery controls), so your photos are pushed to the cloud immediately you snap them – save for cases where uploads have been stopped for users on a cellular connection.
All good so far, right?
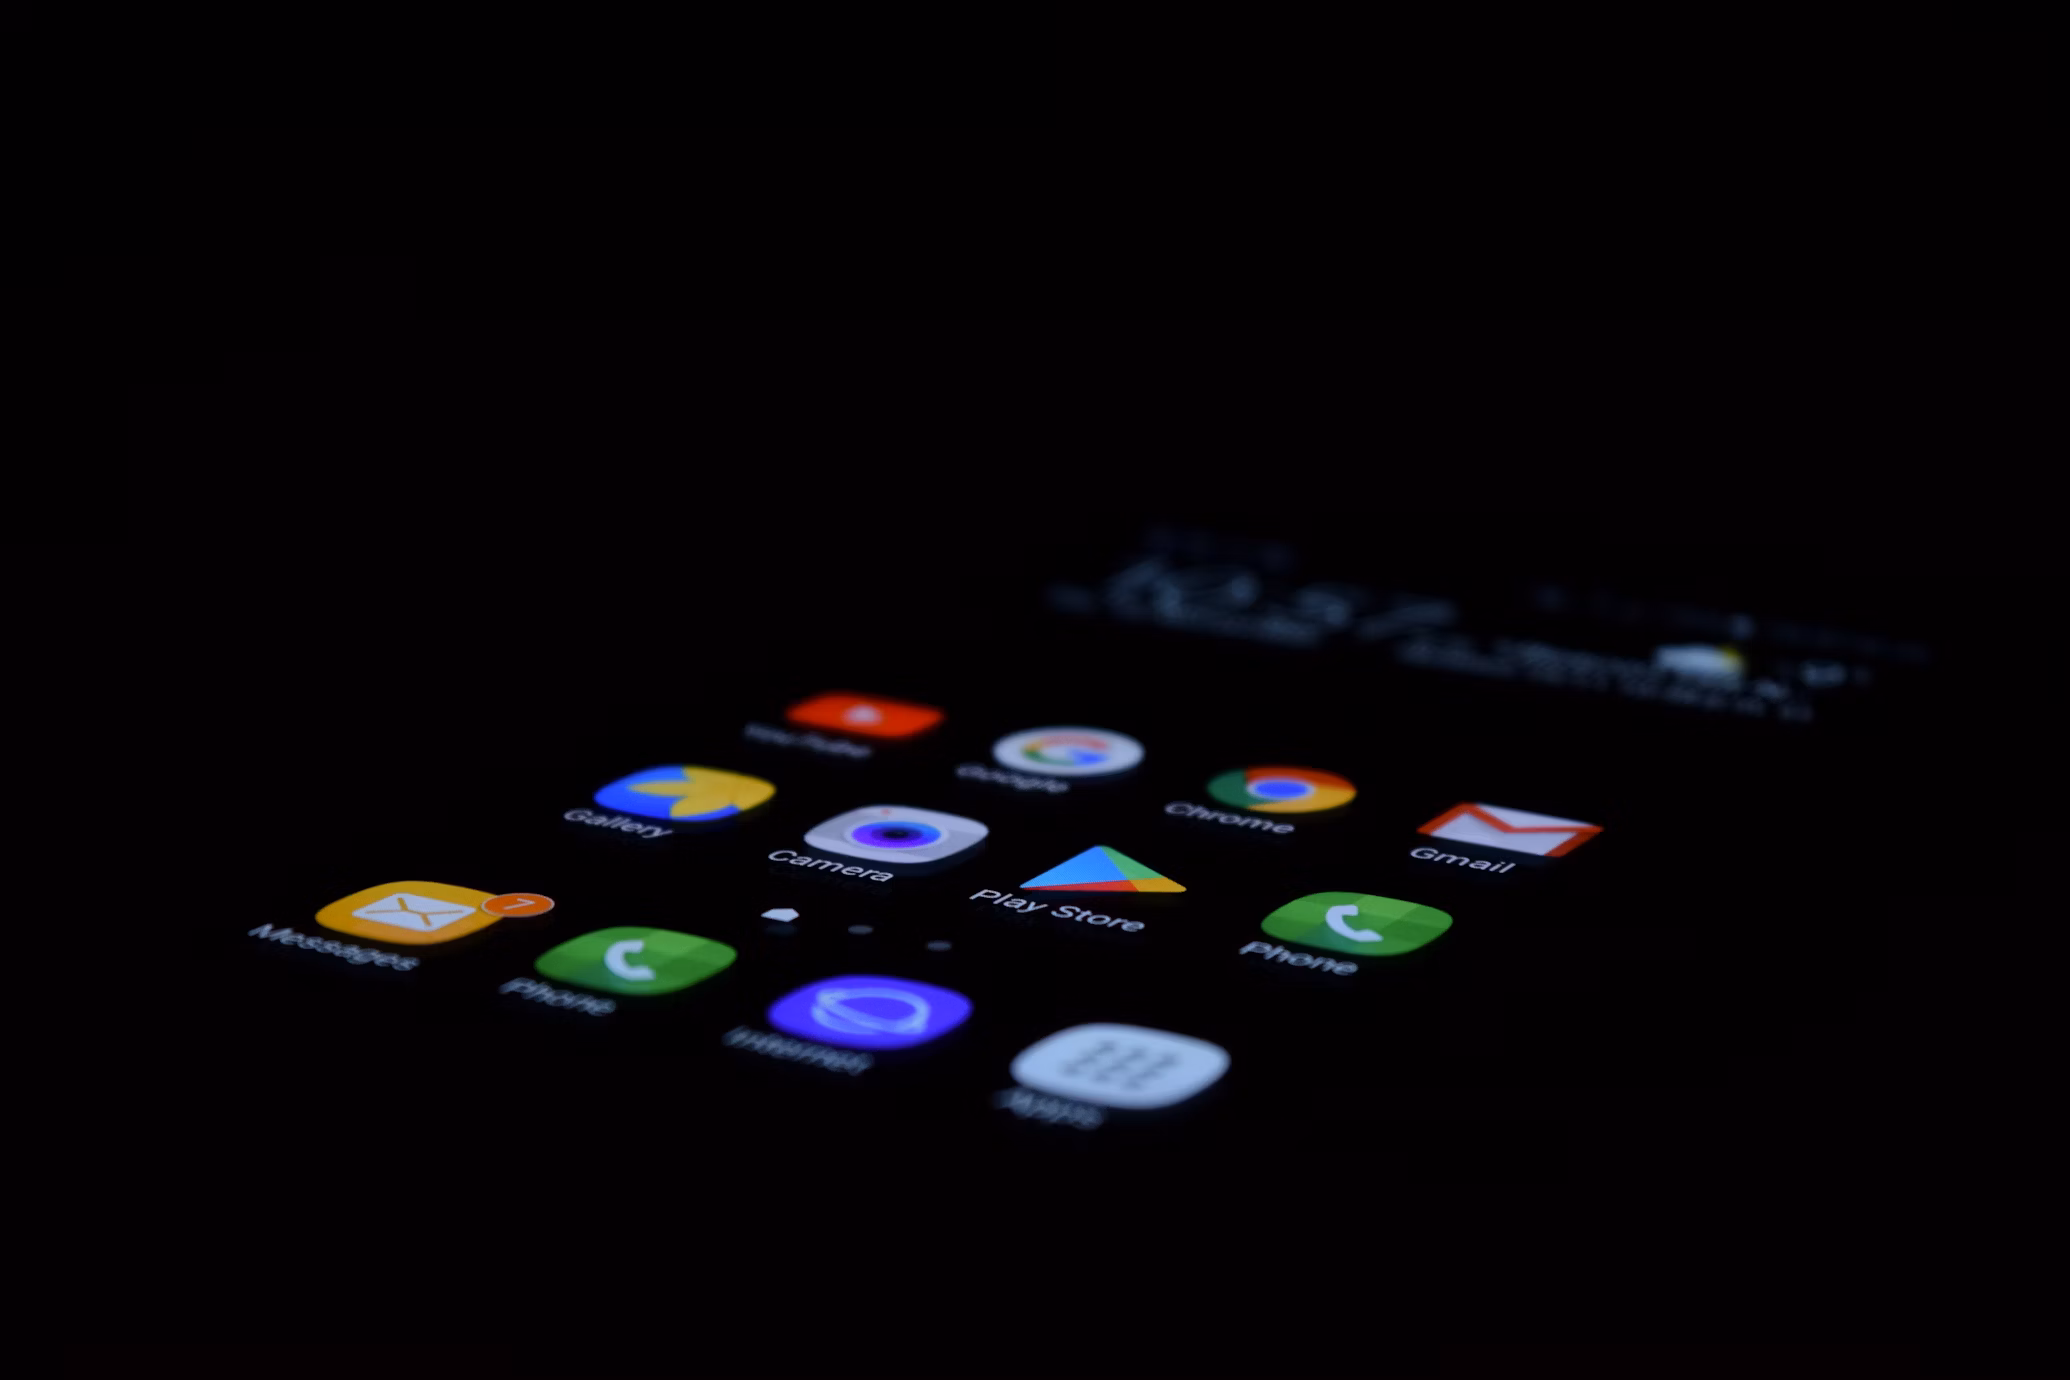
Not really – because Samsung and Xiaomi phone users have issues with the app because it somehow backs up screenshots, which makes the Google Photos feed a mess. I have been having this issue for a while, but a couple of months ago, I managed to fix it on my Samsung, so I though I should share in case screenshots are making your experience with the app, which can also serves as a gallery app, a chaotic experience.
But before we can do that, let’s address some issues, like why screenshots end up in that cloud anyway.
See, different phone makers organize files in different ways. For instance, camera files, the normal jpegs sit in the DCIM folder of in your root storage. Others, like Samsung, have the Screenshots folder inside the DCIM folder. So, Google Photos picks all files from DCIM and pushes them to the cloud as back up. The same thing an happen if there is another image folder inside DCIM.
Other manufacturers organize their files differently, like putting the Screenshots folder outside the DCIM one. This effectively implies the screenshots will not find their way to Google Photos – or OneDrive for that matter.
To solve this problem, there are three working ways with different levels of implementation difficulties. We will start with the easiest to the hardest:
Adding .nomedia file in the screenshots folder
This is as easy as it sounds. All you have to do is locate the Screenshots folder in DCIM, and add a file named .nomedia and save.
 The file means that screenshots will not be displayed in any gallery app. You will only see them via the file manager, which is kind of a setback for people who want to view all their media in a single app.
Downloading a new screenshots app
There are a ton of screenshots apps, many of which were launched back in the day when there was no easy way of capturing them. Nowadays, all Android phones have a general way of doing so via the power and vol down key all pressed at the same instant.
A screenshots app creates a folder in the root storage, meaning they will not be saved in the DCIM folder. This solves the problem, somehow, but once you use the ordinary procedure of the power and vol- key, the captures will find their way into the DCIM folder. Also, this varies from one screenshot app to another: others will trigger the app to launch, others will not.
Downloading an app to change the screenshots folder location
This is the last method that addresses the menace, but it requires several steps to implement. Non-advanced users will not like it because it entails a couple of clicks and permissions, and similar to the preceding method, it is another app in your already long list of apps.
One of such apps is Auto Transfer Lite. It guides you throughout the process:
- You allow necessary permissions
- Then click on the Add New Task button
- Select the source folder (indicated on the same app page) – which in this case is storage/DCIM/Screenshots
- Allow access
- Ensure the Transfer Mode is set as Move.
- The app has a lot of tiny features that you can play around with, but the preceding steps are the most important ones.
Generally speaking, it means all snapped screenshots will be moved to the target folder, so they will not show up in Google Photos.
If you ask me, the last process is the best and seems to work just fine from my end.
Finally, you should note that one thing will not work: and that is moving the Screenshots folder from the DCIM folder to the root of your storage. It is only temporary because the next screenshots will be saved in the original path.


