


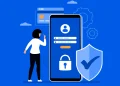
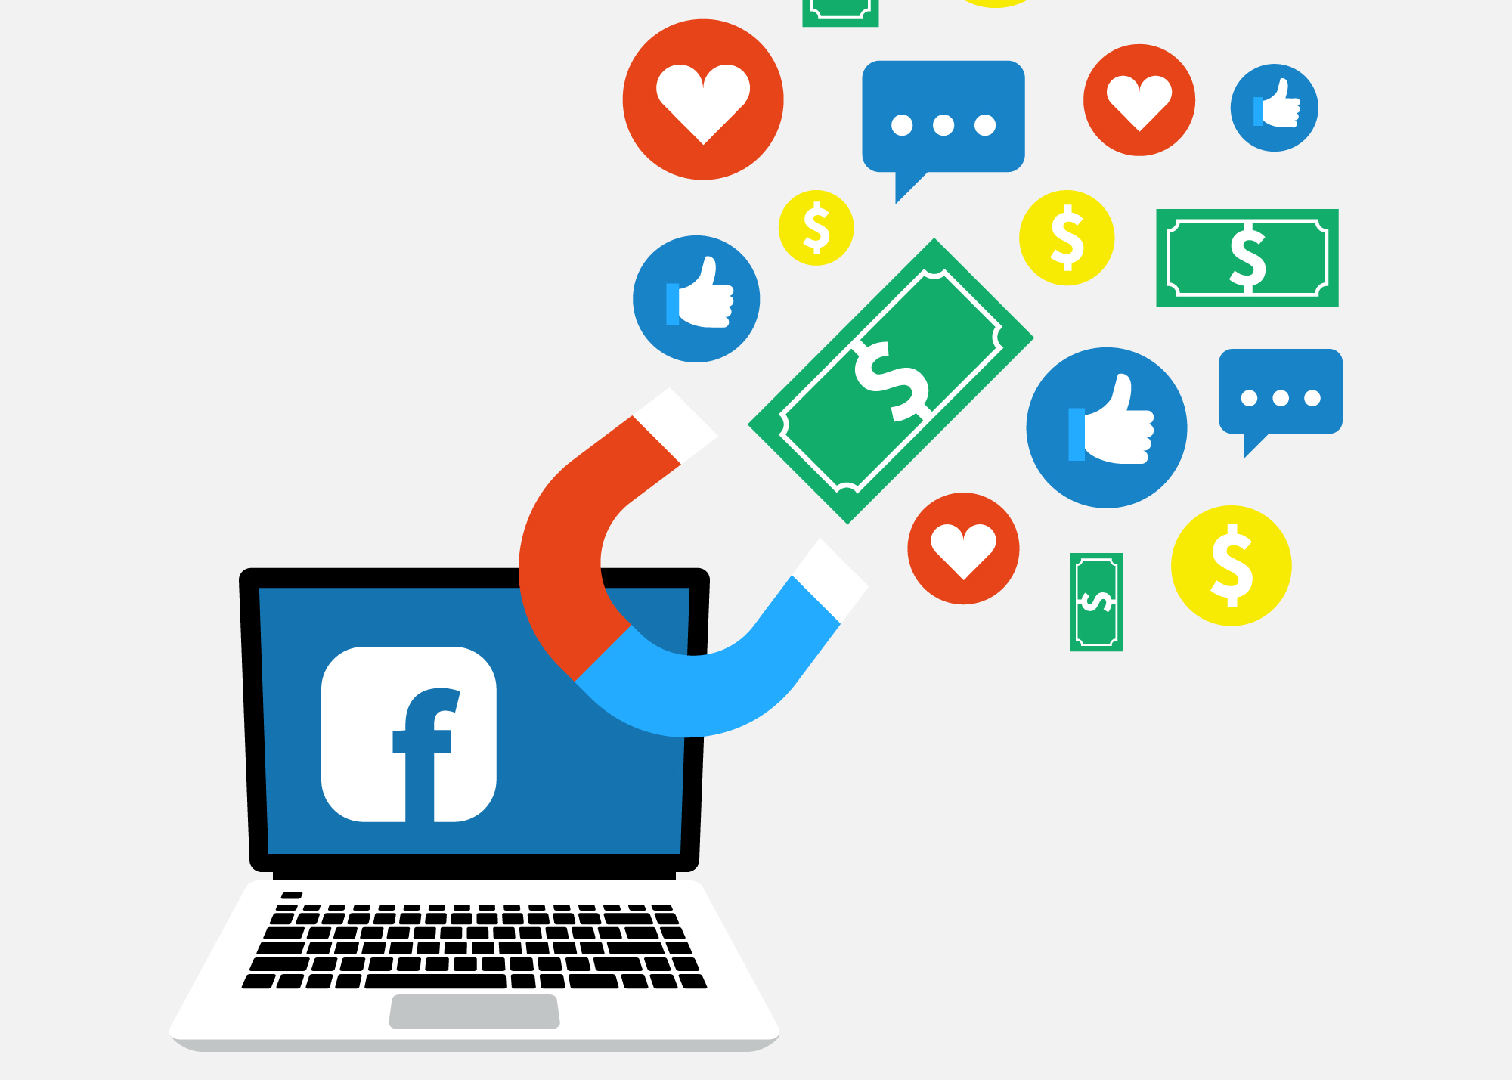
Facebook has a lot of data on you and it’s imperative that all that personal information stays private and secure. So here’s a handy guide to protect your privacy and help you stay secure on the giant social media network.
Before we begin, most of these settings are best accessed from the website as some of the settings include a lot of information. Links will be included for easier access.
Use a Very Strong Password
It’s 2023, please stop using dumb passwords.
Go to Facebook’s settings page and change your password here.
You can create a strong password that has a minimum of 12 characters, includes numbers, symbols, capital letters, and lower-case letters, isn’t a dictionary word or combination of dictionary words plus doesn’t rely on obvious substitutions.
They’re several password generators online if you need help with that.
Password managers also create for you strong passwords. LastPass has a tool for that and you don’t have to create an account with them. Dashlane too, although you’ll have to create an account with them.
These tools will not only create a strong password for you, but they can also manage the passwords for you for different accounts so that you don’t have to use the same password for your other accounts.
Some browsers like Chrome also do handle password management too for not only current accounts but also new accounts. It even has a password checker which is a service that examines a user’s saved passwords if they have been compromised in any way.
Another way is through the Passphrase/Diceware method. This method suggests choosing 6 or more random words and joining them together to create a passphrase which then becomes your password.
Use SMS Two-Factor Authentication
Facebook offers SMS 2FA where you add your number so that when you log in to your account, a code is sent and you use it as a token to verify your account.
Simply head to Settings and then scroll down to Security and Login and tap Two-Factor Authentication and enable this feature.
Save these changes when you’re done.
SMS-based 2FA isn’t the safest though. Companies can use your phone number for ad targetting purposes such as Facebook and Twitter. Also, sim swaps can occur without your knowledge leaving you vulnerable.
Despite this, it is the easiest to set up and is more adaptable for most users.
Beyond Passwords: All You Need to Know
Use Application-Based Two Factor Authentication
You can now ditch SMS-based 2FA for app-based 2FA and Facebook already supports third-party authentication apps such as Authy, Microsoft Authenticator, Google Authenticator and LastPass apps.
Authy even allows for multiple device support for those who frequently change devices via a cloud backup.
Authy’s desktop, Android and iOS apps let you search for tokens by name, display tokens as a list or grid view, greater device information so you can view and remove unused apps. You also get push authentication support for websites that have implemented it.
It’s best to install the Authy app on your phone and desktop or another device so that when the tokens are synched to the Authy Cloud, they automatically sync. This is so that when an attempt to install another instance of Authy, you get notified via the other app as Authy checks the new device against an existing device they already trust.
Once this is done, go ahead and turn off the app’s multi-device feature so that no additional apps are installed.
Most sites will suggest the Google Authenticator app for 2FA but you can easily substitute that for Authy.
2FA apps are also vulnerable as most sites have a logic flaw vulnerability that lets you log in without knowing the current password. It works when you’re trying to change your password while in the process of logging in to the 2FA login page. Google fixed this issue. Instagram and Microsoft are still vulnerable. Read all about it here.
Simply head to Settings and then scroll down to Security and Login and tap Two-Factor Authentication and enable this feature.
If you have the authentication apps listed above, Facebook will automatically find the app and send a login code to it. You’ll have to get the code and enter it. Once that is done, two-factor authentication will turn on automatically.
Consumers are becoming more aware of 2FA and moving beyond password-only logins.
Manage Off-Facebook Activity
Here’s a handy guide on how to use Facebook’s privacy tool that’s available for users globally
Review apps connected to your Facebook account
Make sure you review apps that use your Facebook account to log in to their platforms. If you longer use those apps or services, revoke their access.
Head to the Apps and Websites page to view the Active apps that have access to your account. If you see anything shady or apps you’ve stopped using, easily revoke access by tapping on the app and scrolling down to the remove button.
Disable Location History on your phone
Facebook will use location data from your device to create a map of your location history. For Android, turn it off by going to Settings & Privacy > Settings > Location settings > Location History then disable the toggle.
For iOS, go to Settings & Privacy > Privacy Shortcuts > Manage your location settings and then disable the toggle.
Review devices with access to your account
Head to Security and login page and then to Where You’re Logged In to view all the devices you have logged into your Facebook account.
To remove a device from the list, just click on the three-dot icon to the right of the device’s name and then Log out. Facebook will then ask you whether or not you want all posts that came from that said device to be removed from your account too. This feature is handy if a malicious actor had gained access to your Facebook account and posts without your permission.
You can also sign out of every device linked to your Facebook account by clicking the Log Out of All Sessions button.
This is the best option if you want a fresh start.
Limit your Posts
Head to Privacy > Limit The Audience for Old Posts on Your Timeline and click on Limit Last Posts
Doing this will ensure anything you’ve shared publicly or with friends of friends will be changed to being shared only with friends. The feature isn’t perfect as you can’t pick which posts you want to share when enabled so you’ll have to manually go through your timeline and make those changes individually.
Other steps
You can go through the Privacy section and go through each setting and adjust to your preference such as limiting the phone number and email address search options to “Friends” or “Only Me”
Conclusion
Enabling these security protections will ensure your Facebook account is safe and makes it difficult for hackers to gain access to your account plus also making your experience on the platform worthwhile.


