


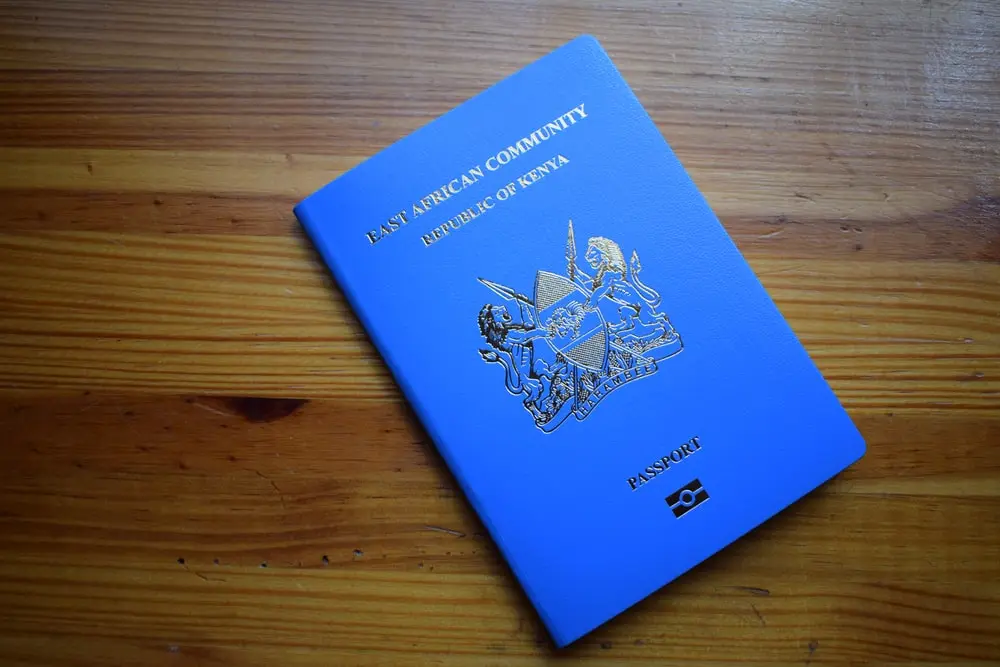
If you’re planning to travel abroad from Kenya, the first official document you’ll need is a valid passport. Fortunately, you can now apply for a Kenyan passport without numerous hassles, thanks to the government’s digital platform, eCitizen.
Gone are the days of long queues and endless paperwork; today, most of the application process happens online, with only a single in-person visit required.
In this guide, we’ll break down and explain all the steps you need to apply for a Kenyan passport in 2025.
Step 1: Register on eCitizen.
The process begins by visiting www.ecitizen.go.ke. If you haven’t already signed up, you’ll need to create an account using your national ID number and a valid email address. Once you’ve registered, log in to your account and head to the dashboard.
It’s worth noting that the email address and phone number you use will be important for receiving application updates and notifications, so make sure they’re active and accessible.
Step 2: Access and Fill Out the Passport Application
Once logged in, go to the Department of Immigration Services section. Here, you’ll find the option to apply for a passport.
Click on the passport application link, which will redirect you to immigration.ecitizen.go.ke. Select “Make Application,” then choose the type of passport you’re applying for.
Before filling out the online application form (also known as Form 19), be sure to read through the instructions carefully.
Fill in your personal details, next of kin information, and travel history as required. Accuracy is crucial; any discrepancies between your documents and the information you provide can delay the processing.
Step 3: Make the Payment
After you’ve completed the application form, the next step is to pay the required passport fee. You’ll be presented with several payment options, including M-Pesa, debit/credit card, or bank payment.
Choose what works best for you and follow the instructions to complete the transaction.
The cost of the passport varies depending on the type you’re applying for.
| Type of passport | No of pages | Amount |
| Ordinary passport | A Series (34 Pages) | 7550.00 |
| B Series (50 pages) | 9,550.00 | |
| C Series (66 pages) | 12,050.00 | |
| Diplomatic passports | 15,050.00 | |
| Mutilated passport | 20,050.00 | |
| Lost passports | 20,050.00 | |
| Certificate of Identity (for Foreigners) | 3,050.00 |
Step 4: Print Your Application and Receipts
Once your payment is successful, download and print the completed application form along with three copies of the payment invoice.
These printed documents will be required when you present yourself at the immigration office for biometric capture and document verification.
Please ensure the documents are printed clearly and that all information is fully visible.
Step 5: Submit Your Application in Person
While much of the process is now digital, you’ll still need to visit an immigration office in person. This is to allow for biometric data capture, photo verification, and submission of physical documents.
Before going, you must book an appointment through your eCitizen portal.
You can submit your documents at any of the main passport processing centers located in Nairobi (Nyayo House), Mombasa, Kisumu, Eldoret, Nakuru, Embu, Kisii, Kericho, or Bungoma, according to the Directorate of Immigration Services.
Be sure to arrive early and carry all the required items to avoid having to reschedule.
Step 6: Documents You’ll Need
Before you head to the immigration office, ensure you’ve gathered all the necessary supporting documents. These include the original and a copy of your national ID card, four recent passport-sized photographs with a white background, and the printed application form.
If you’re applying on behalf of a minor, you’ll also need a duly filled parental consent form, copies of the parents’ IDs or biodata pages of their passports, and the minor’s birth certificate.
For individuals born outside Kenya, a foreign birth certificate, translated into English if necessary, must be included. Additionally, you’ll need a recommendation letter from a Kenyan citizen (non-relative) who holds a valid national ID or passport.
For renewals, remember to carry your previous passport and a copy of the biodata page. Having all your documents in order will save you a lot of time and hassle during submission.
Step 7: Wait for Processing and Collect Your Passport
After submitting your documents and having your biometric data captured, the final step is waiting for your passport to be processed. On average, it takes about 10 to 15 working days. You’ll receive an SMS notification when your passport is ready for collection.
When collecting, make sure to bring your original ID and any collection slip you were given. Only the applicant can collect the passport, except in special cases where prior arrangements have been made.
To avoid unnecessary delays, always double-check that the details on your application match your official documents. Inconsistent information is one of the most common reasons for passport processing delays.
Additionally, ensure your passport photos meet the official specifications: plain white background, no filters, and a neutral expression.
That is all you need to do to successfully apply for a Kenyan passport.


