


Are you thinking about capturing a video from your screen on your Windows 10 PC so that you can save a Skype call, online streaming video, or maybe even create a guide or some other form of video content of your own? Although there is a built-in screen recorder on Windows 10 that comes with the Xbox app, it is fairly limited – which is why you’d be better off using a more powerful screen recorder.
To be more specific you should download and install Movavi Screen Capture Studio. It is a screen recorder for Windows 10 that is easy to use, and yet comes with all the powerful features you may need to fully customize your screen recording and even improve it after the fact.
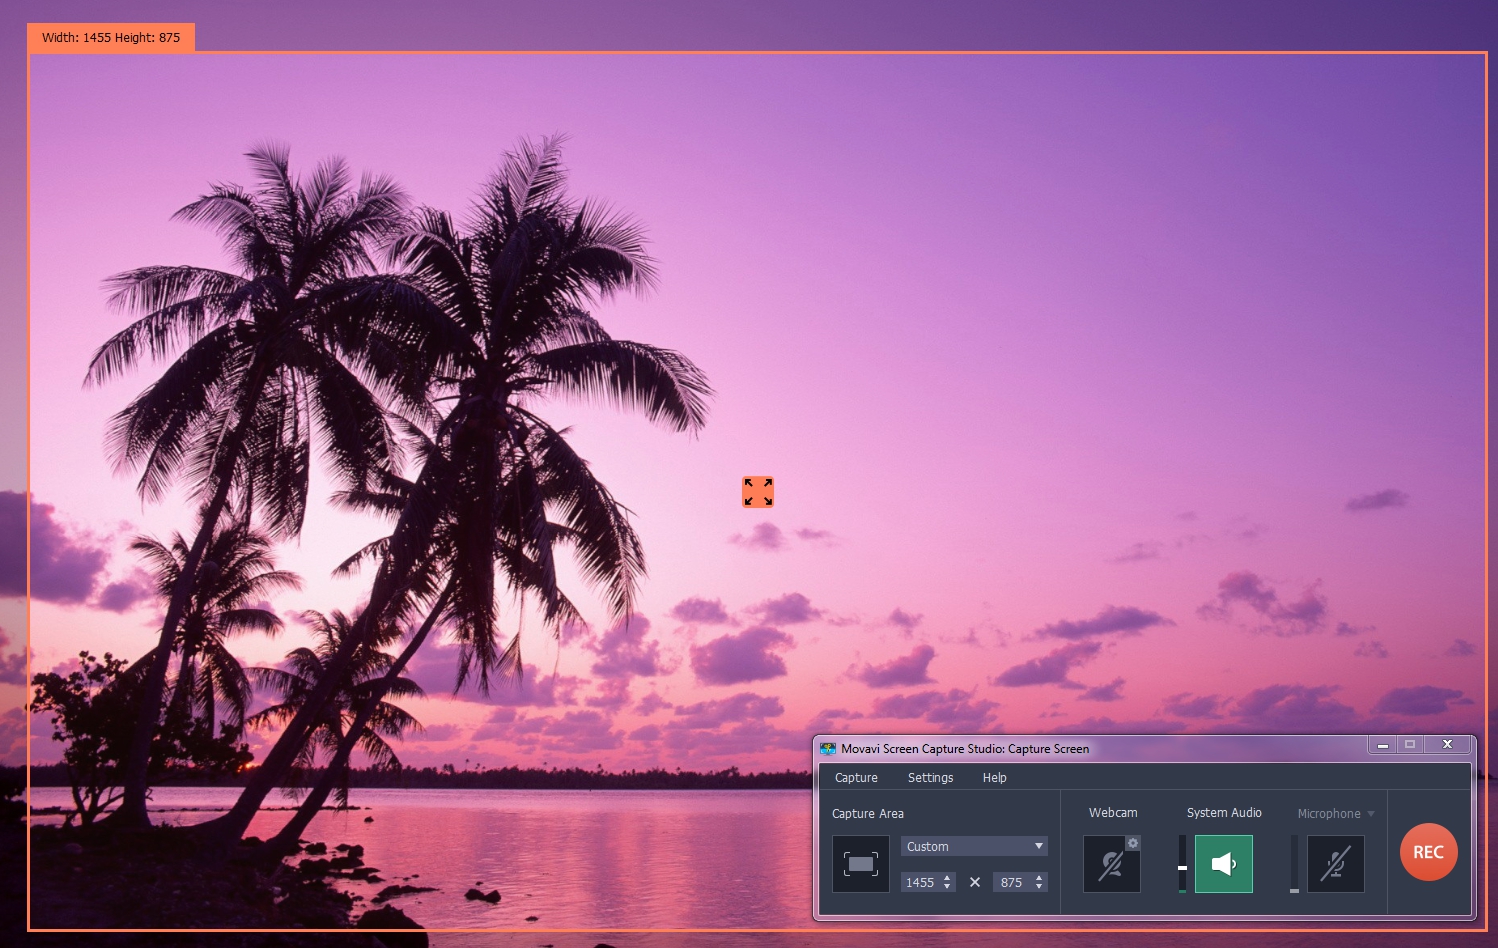
If you’d like to get started, launch Movavi Screen Capture Studio and select ‘Record screen’ in the launch window to open up the screen recorder. When you do you can then immediately set it up to record a specific part of your screen by clicking and dragging your mouse cursor to effectively draw a frame. It is also possible to select a program window if you’d like to record a certain app, and you can manually adjust the frame later or use the presets under the ‘Capture Area’ section of the interface as well.
The next step you should take is to set up the audio that you want Movavi Screen Capture Studio to record. On the interface you’ll see icons for ‘System Audio’ and ‘Microphone’, and you can click on them to enable or disable audio recording via those options. Right beside each icon you’ll find a slider that you can use to adjust the volume level of that specific audio source.
It might be worth looking into the ‘Capture’ menu as, especially if you’d like to highlight your mouse cursor, show keyboard actions, or set up a custom ‘click’ sound. In that menu Movavi Screen Capture Studio has a ‘Schedule Recording’ option that you can use to automate the recording as well.
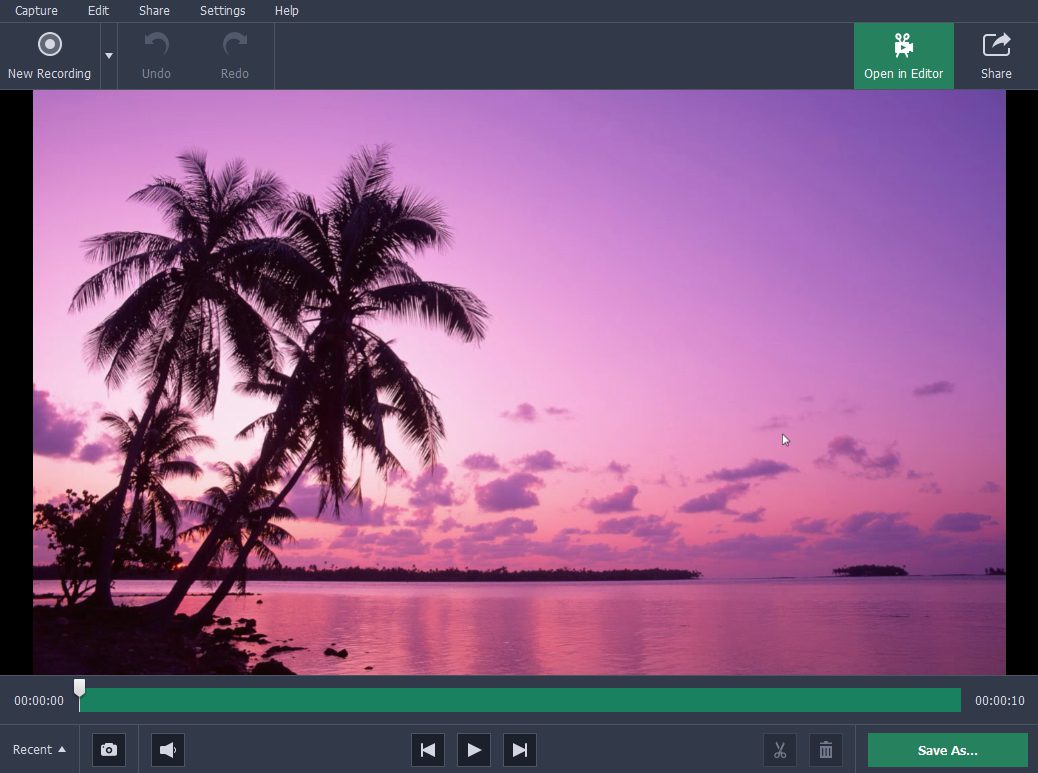
When you’re ready to begin recording, just press ‘REC’ and use the other controls on the interface to ‘Pause’, ‘Stop’ or ‘Cancel’ the recording. If and when you do ‘Stop’ the recording, Movavi Screen Capture Studio will display the results in a preview window – and you can click ‘Save As’ to save it right then and there or open it up in the editor.
Using the editor in Movavi Screen Capture Studio will let you improve your video further. Not only can you enhance its quality and cut and join video segments, but you could also apply special effects, add background music, insert captions, and much more.
As you can see it is really easy to capture videos from your screen on Windows 10 using Movavi Screen Capture Studio. More importantly the fact that it has so many powerful features will ensure that you’re well-equipped to record, edit, and ultimately create precisely the type of video that you want.


