

OST file is a local copy of your mailbox items downloaded on your computer. It is automatically created when you connect Outlook with an Outlook 365, Exchange, or IMAP account. The OST file even allows you to access your mailbox items when you are offline or disconnected from the mailbox server. This file is encrypted with MAPIEntriID GUID key. This means that OST file is linked to the account/profile in which it is created and cannot be opened/accessed in another Outlook account or profile. If you have a new Outlook account and want to use (access) your old OST file, then you need to convert the OST file into Outlook importable PST file format. In this article, we will be discussing a few methods to convert the OST file into PST and then import it into Outlook.
How to Access Old OST file in a New Outlook Account?
To access an old OST file in a new Outlook account, you are required to convert the OST file into PST file first. Then, you can open or import this PST file into your new Outlook account. You can use the following methods.
Method 1 – Use Microsoft Outlook Import/Export Wizard
To convert OST file to PST file, you can use the Microsoft Outlook Import/Export feature. Following are the steps to convert the OST file into PST format:
Note: This method will only work if you’re able to access the old OST file in the same account/profile in which it is created.
- Open MS Outlook account in which the OST file is created.
- Go to the top left corner of the application and click on File.
- Select Open & Export from the options.
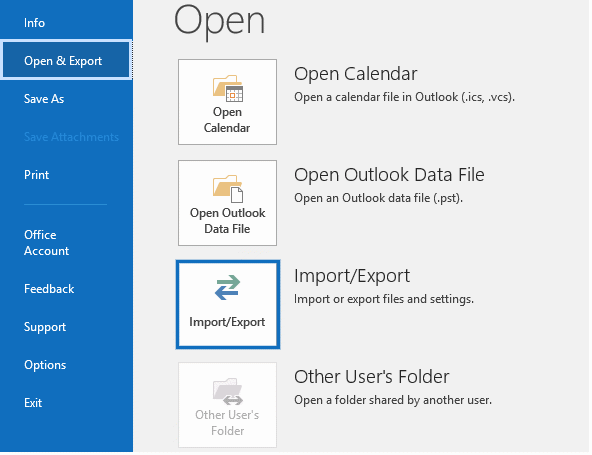
- Now, click on Import/Export. The Import and Export Wizard window will appear.

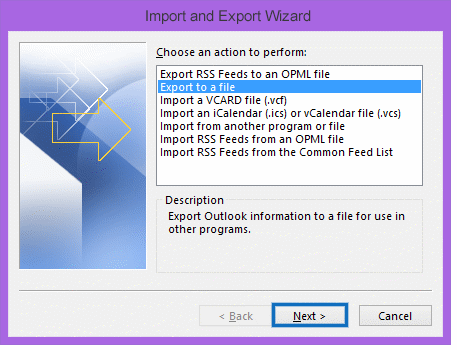
- Select Export to a File, under Choose an action to perform, and then click on Next.
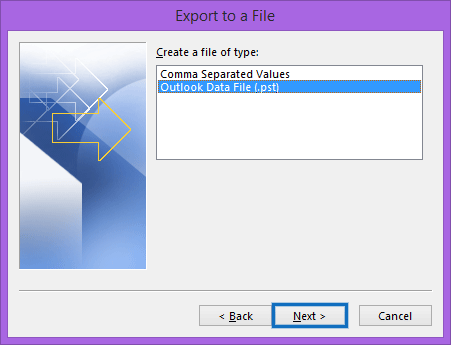
- In the new Export to a File window, select Outlook Data File (.pst).
- In the Export Outlook Data File window, select the folder(s) or mailbox items that you want to export.
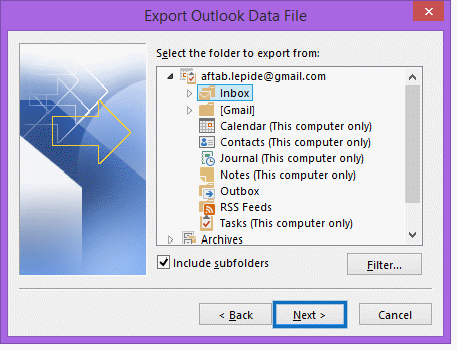
- Before clicking Next, select the Include subfolders option.
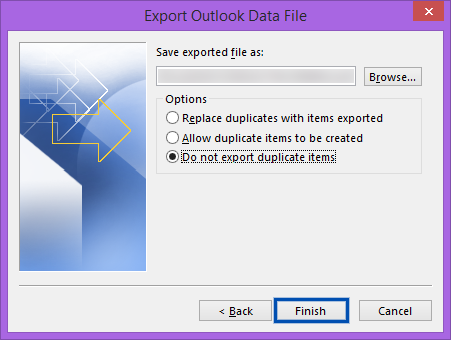
- Choose the location to save the PST file. Click on the Browse button and select the desired location. Select the Do not export duplicate items radio button and then click on Finish.
After converting the OST file into PST format, you are now required to import the file into the new Outlook account. Follow the steps given below:
- Launch your new Outlook and go to File.
- Select the Open & Export option.

- In the next window, click on the Import/Export option.
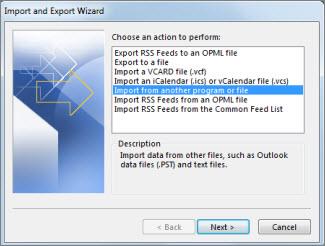
- In the Import and Export Wizard, select Import from another program or file and then click on the Next button.
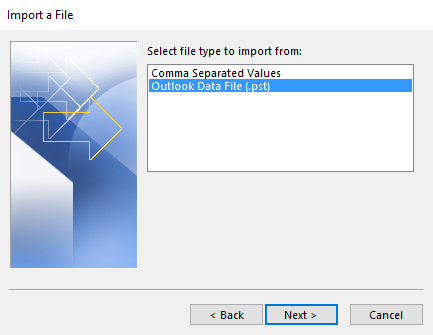
- In the Import a File window, select Outlook Data File (.pst), and click on Next.

- Click the Browse button under File to import to select the PST file.

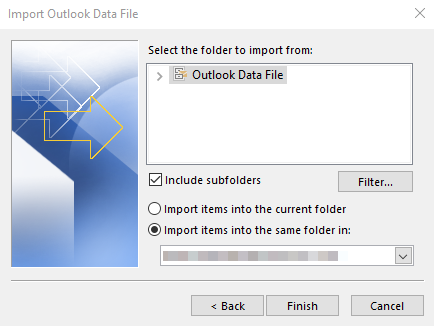
- Select the radio button Do not import duplicates and then click on Next.
- Now, select the folder that you want to import from and then click on Finish.
This may take a while depending on the volume of data.
Method 2: Use an OST to PST Converter Software
The above process can help you to convert the old OST file into PST and then import it into the new Outlook account. However, this method will work if the OST file is healthy and accessible. If the OST file is inaccessible, orphaned, or the Outlook account associated with the OST file is not working, then you need to use a specialized OST to PST converter software, like Stellar Converter for OST. This software can easily convert the old OST file, even if it is orphaned or inaccessible and created in any Outlook version. After conversion, it saves the mailbox items in a PST file without changing the folder hierarchy and original structure. It also allows you to directly export the OST file items to an existing Outlook profile, Outlook 365 (Office 365), or live Exchange Server. You can also convert an encrypted OST file. In addition, you can save the OST file items in various other file formats, like RTF, HTML, PDF, and MSG.
Following are the steps to convert OST to PST with Stellar Converter for OST:
- Download and install the Stellar Converter for OST software on your system.
- Launch the software.
- In the ‘Select Outlook Data File for Conversion’ window, you can click the ‘Profile List’ tab if you want to select the OST file from your configured Outlook profile. Else, click the ‘Choose Mailbox Manually’ tab to browse and select the OST file manually.
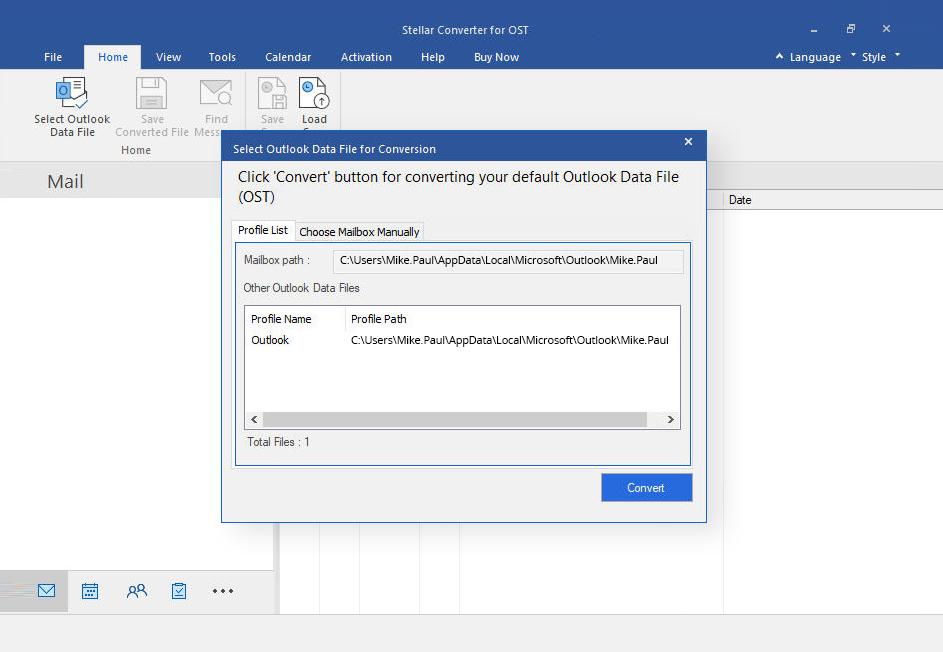
- Click on the ‘Convert’ button after selecting the OST file.
- The software will begin scanning the OST file and convert the data (items) of OST file.

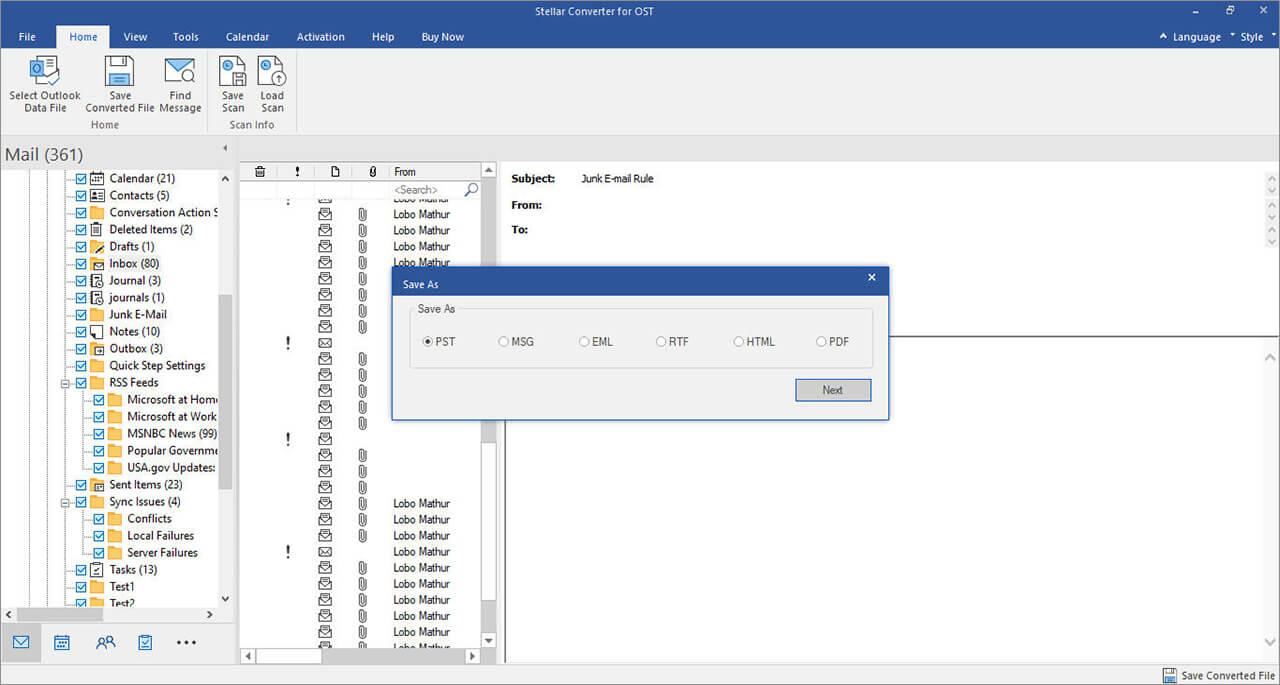
- When the OST file is converted, the software will list all the mailbox items. You can click on any item to see its preview. You can choose and select the items or folders you want to save in PST file.

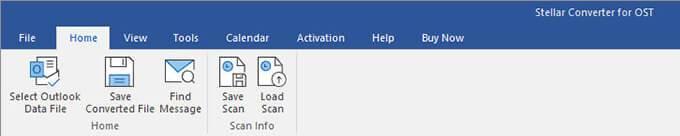
- Next, click on the Home button and select Save Converted File.
- Select PST from the options and click on Next.
- In the Select Destination window, click on Browse to select the location to save the converted file. Then, click OK.

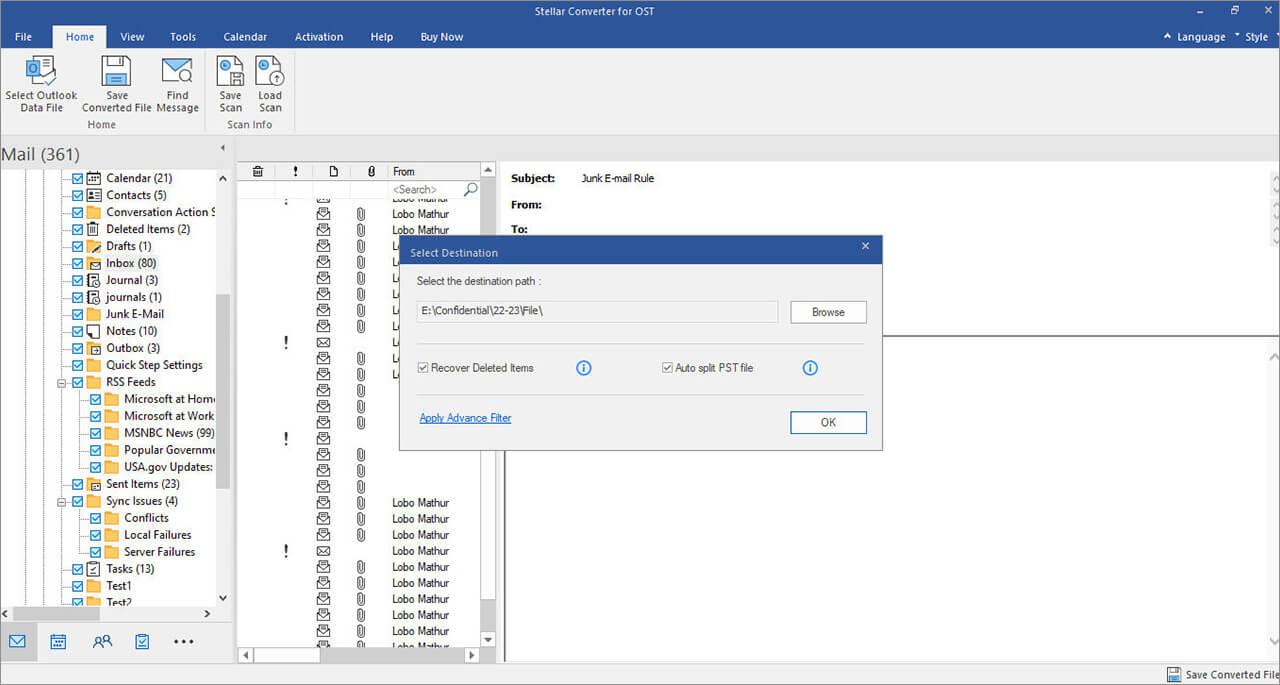
The converted PST file will be saved at the given location. You can now easily import this PST file into your new Outlook account by using the Import and Export feature.
Conclusion
Above, we have discussed different ways to access old OST in a new Outlook account. If you have deleted your old Outlook account and want to access the OST file associated with it, then you require an OST to PST converter software, like Stellar Converter for OST for converting the OST file to PST file. This software is recommended to convert orphaned or inaccessible OST files. You can save the OST file items in PST format or directly export them to existing Outlook profile, Office 365, or live Exchange Server.