





Getting locked out of Facebook or Instagram can happen suddenly. You try to log in, only to see a red banner saying your account is gone. Meta relies heavily on automated systems to detect policy violations, so genuine users can sometimes get caught alongside spammers and bots.
The good news is that Meta has a process for recovering your account. Knowing what to do ahead of time can save you the stress of figuring out the next step when you are already locked out.
Recovering a Facebook Account
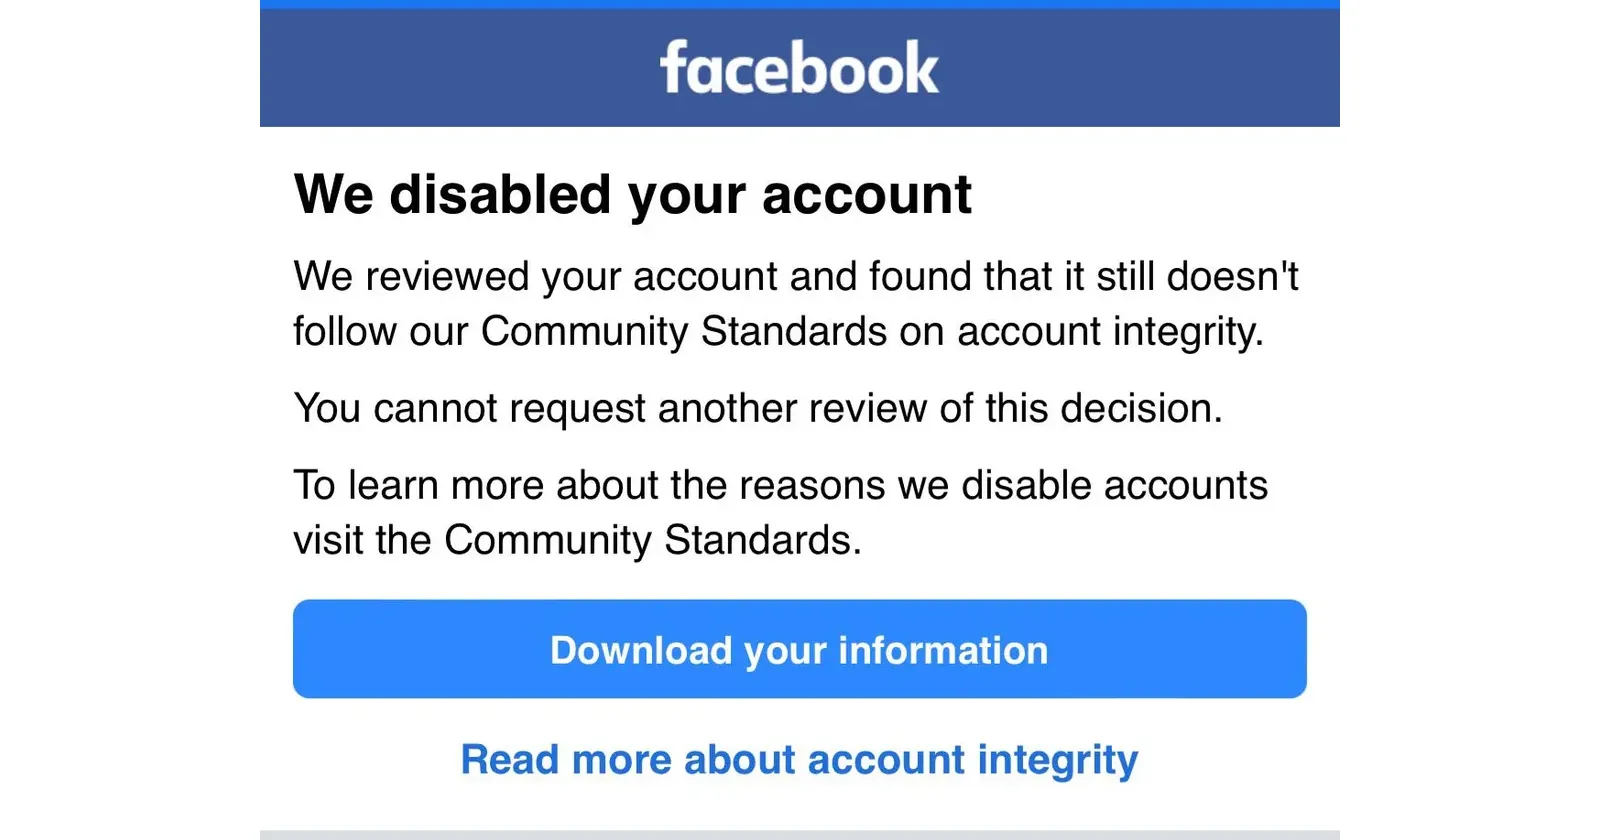
When Facebook disables an account, it usually shows a full-page message rather than a vague error, so you know immediately something is wrong.
Step 1: Log in and read the notice. Facebook will display “Your account has been disabled” along with a brief reason, ranging from fake identity concerns to a Community Standards violation.
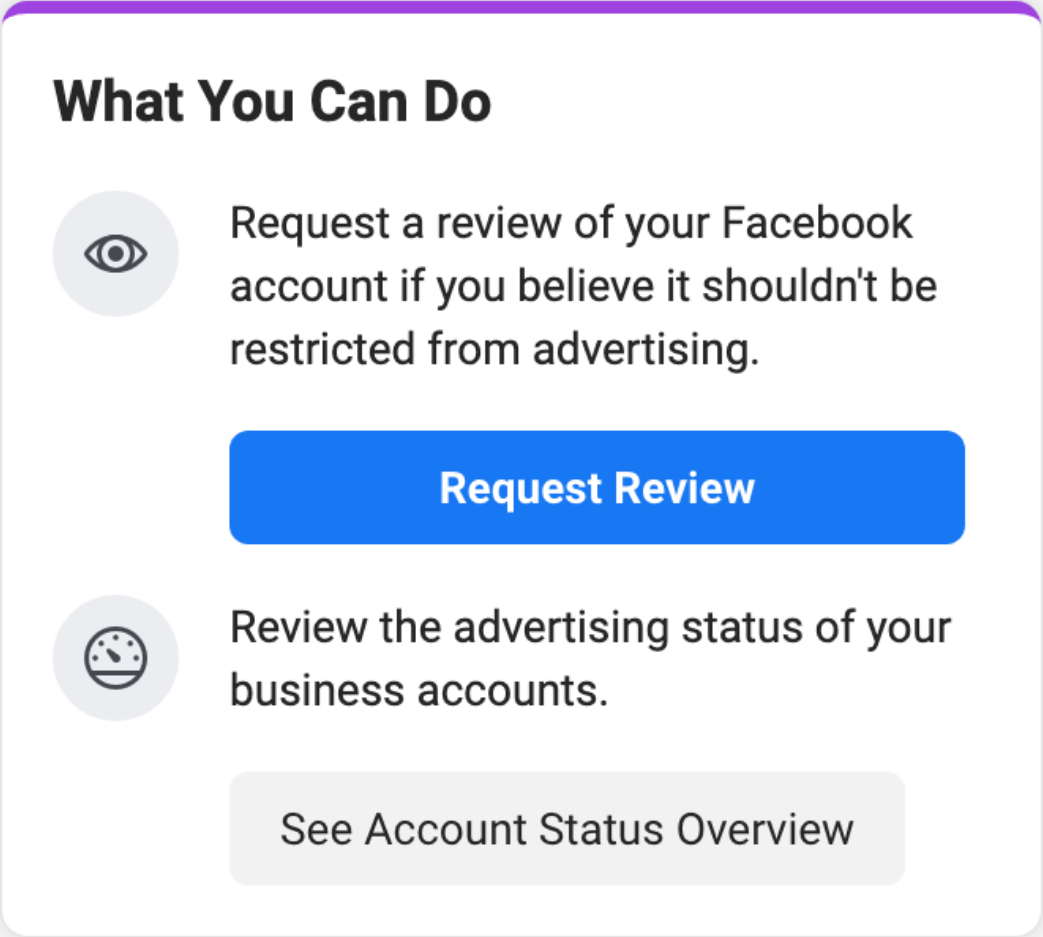
Step 2: Click “Request Review.” This button sits right on the disabled notice and kicks off the formal appeal.
Step 3: Verify your identity. Facebook often asks for a clear photo of a government-issued ID; a driver’s license or passport works. This step trips people up the most, since a blurry or cropped photo gets rejected and resets the clock.
Step 4: Use the backup route if needed. If the “Request Review” screen doesn’t appear for you, log back into Facebook directly; Meta’s appeal prompt for suspended or disabled accounts tends to surface there, or check the Facebook Help Center for guidance specific to your situation.
If It’s a Business Page or Ad Account
A monetized Facebook presence, a Page, an ad account, or a Business Manager doesn’t go through the same personal profile screen, so treat this as a separate track rather than a variation on the steps above.
Step 1: Figure out exactly what’s restricted. Meta can disable a single ad account, a Page, the whole Business Portfolio, or the personal profile that administers them, and each one has its own recovery path, so confirm which layer is affected before you appeal anything.
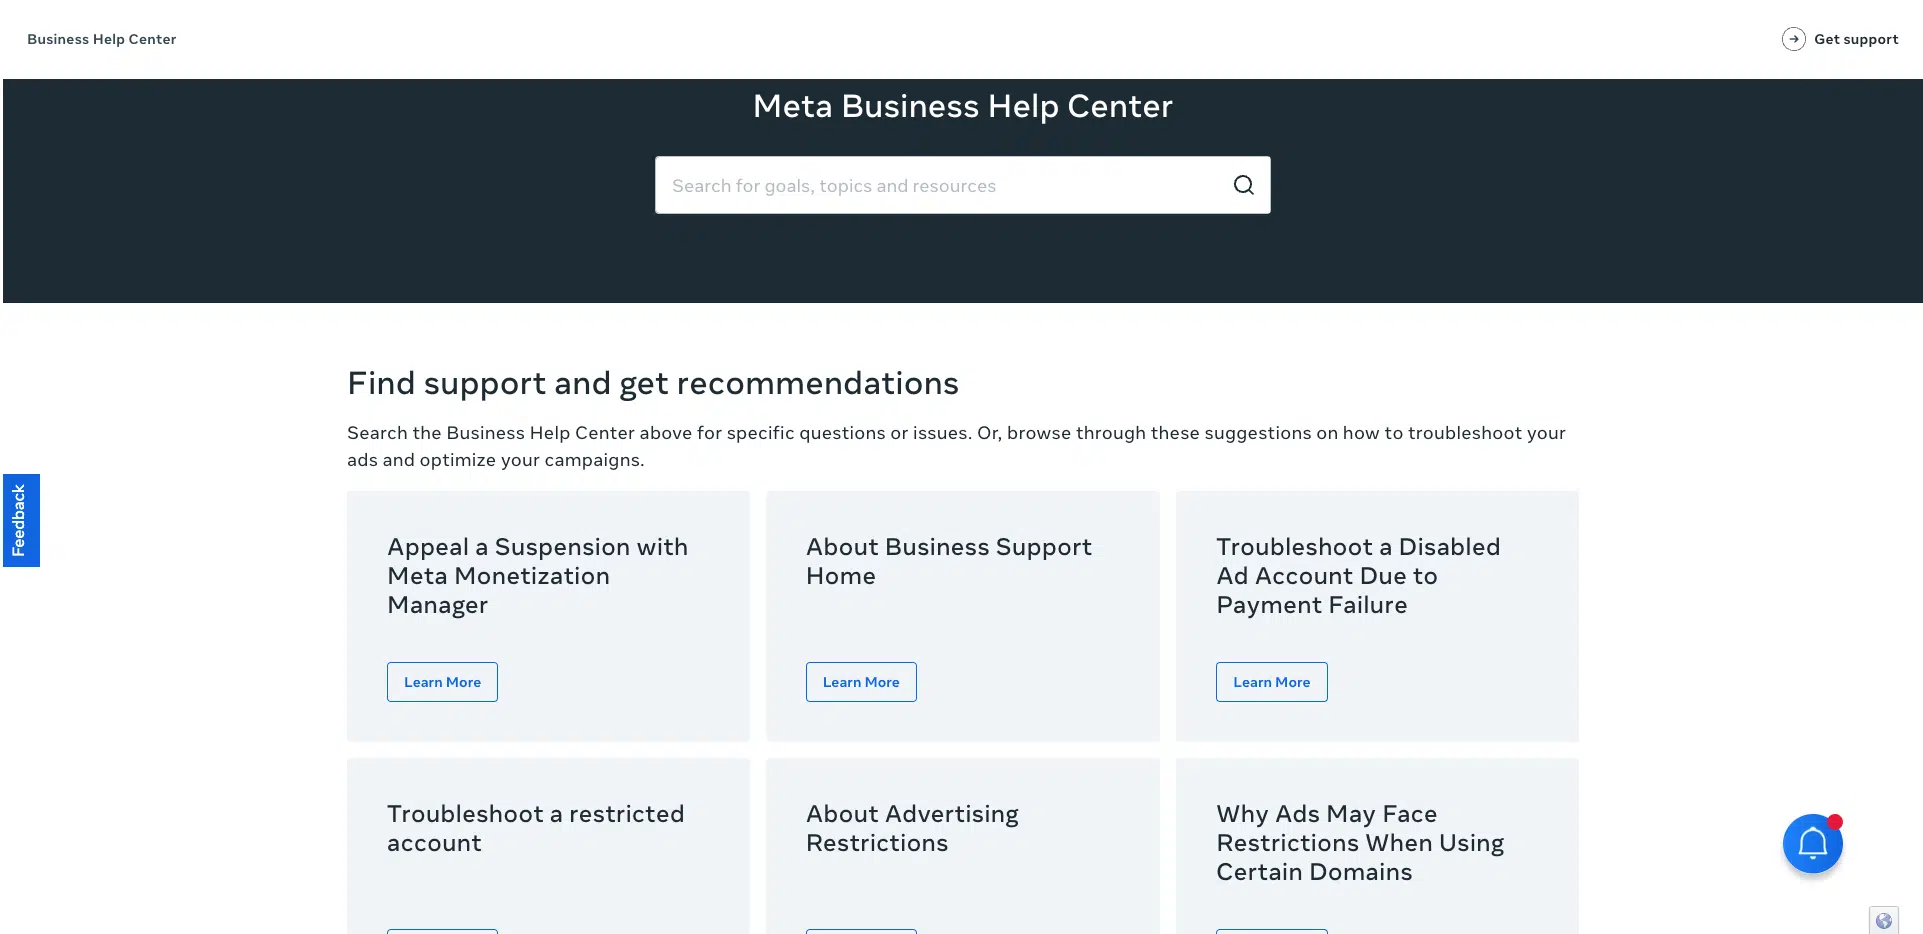
Step 2: Go to Business Support Home. This has replaced the older Account Quality page and is where the disabled asset, along with the stated reason, actually shows up.
Step 3: Fix the underlying issue before appealing. If it’s a policy violation, edit or remove the flagged content first. If it’s a payment problem, clear any outstanding balance and confirm the card on file.
Appealing without fixing the root cause tends to get the same rejection twice.
Step 4: Submit the review, and only as an admin. Only account admins can request a manual review, and the 180-day window from personal accounts still applies here; past that point, Meta says the account can’t be reinstated.
Step 5: Escalate if it stalls. Live chat through Business Support Home is available once an account has meaningful ad spend, and Meta Verified subscribers tend to get faster access to a human reviewer.
One trap specific to this track: don’t open a new account while the old one is under appeal. Meta reads that as evading the restriction, and it can turn a temporary ‘disable’ into a permanent one.
Recovering an Instagram Account
Instagram’s recovery process runs through the app itself rather than a web form, and it uses a distinctive human-verification trick.
Step 1: Open the app and try to log in. Instagram will show an “Appeal” or “Learn More” prompt if the account is disabled rather than just suspended.
Step 2: Watch for the selfie request. Instagram commonly emails users asking for a photo of themselves holding a handwritten code, written on paper, in their handwriting. It looks unusual, but it’s Instagram’s way of proving a real human, and the actual account owner, is behind the request.
Step 3: Use the Help Center form as backup. If the in-app appeal stalls, the Instagram Help Center has a dedicated submission form.
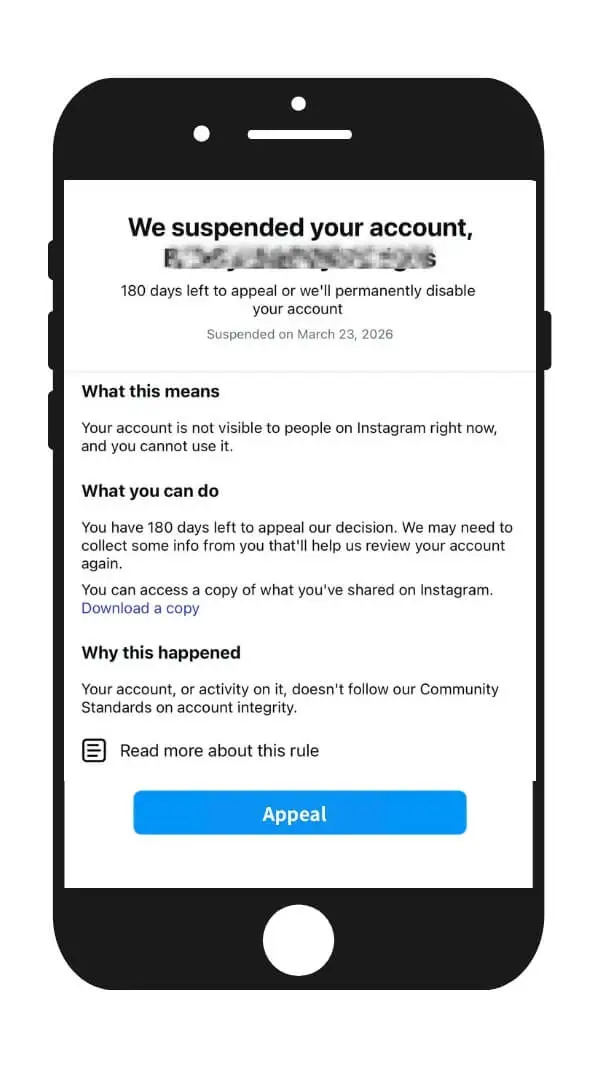
If It’s a Professional or Creator Instagram Account
Instagram business and creator accounts run through the same Meta infrastructure as Facebook Pages once monetization is involved, so a disabled professional account has a few extra doors to try beyond the standard in-app appeal.
Step 1: Check Account Status through Accounts Center. If the Instagram is linked to a Facebook login, go to Settings, then Accounts Center, then Account Status; this often shows more detail than the in-app notice alone.
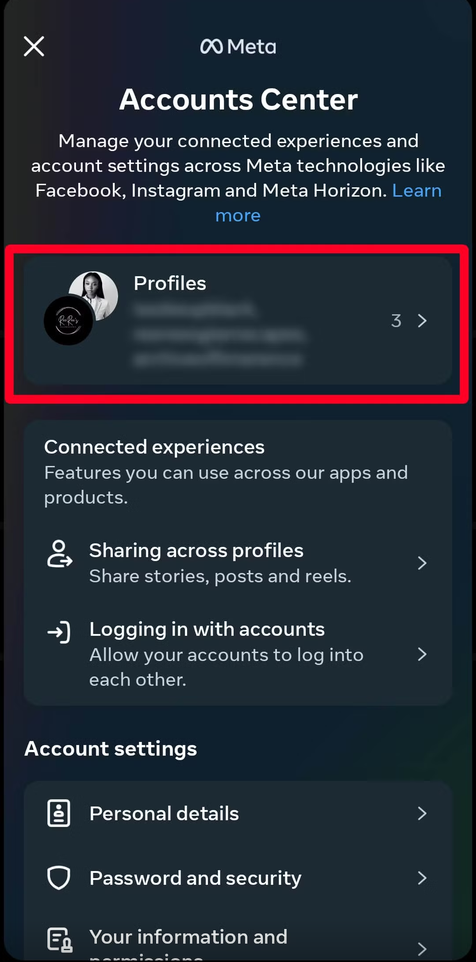
Step 2: Use Meta Business Suite’s live chat if you have access. Even a personal account with Business Suite access can sometimes reach a live representative there, which tends to move faster than the standard queue.
Step 3: Lean on any ad account or Meta Verified connection. Meta tends to prioritize support for business customers and advertisers, so if the Instagram account is tied to an active ad account or a Meta Verified subscription, mention that when you reach a human; it can shift the case out of the purely automated queue.
READ: Here’s Who Should Pay for Meta Verified Subscription Plan
Step 4: Watch the deletion clock on permanent disables. A permanently disabled account isn’t recoverable forever; data gets purged after a window that varies by region, so a creator or business account with real revenue behind it shouldn’t sit on the notice.
Avoid submitting multiple appeals back to back. It doesn’t speed things up, and in some cases it resets the review queue.
What Moves the Needle
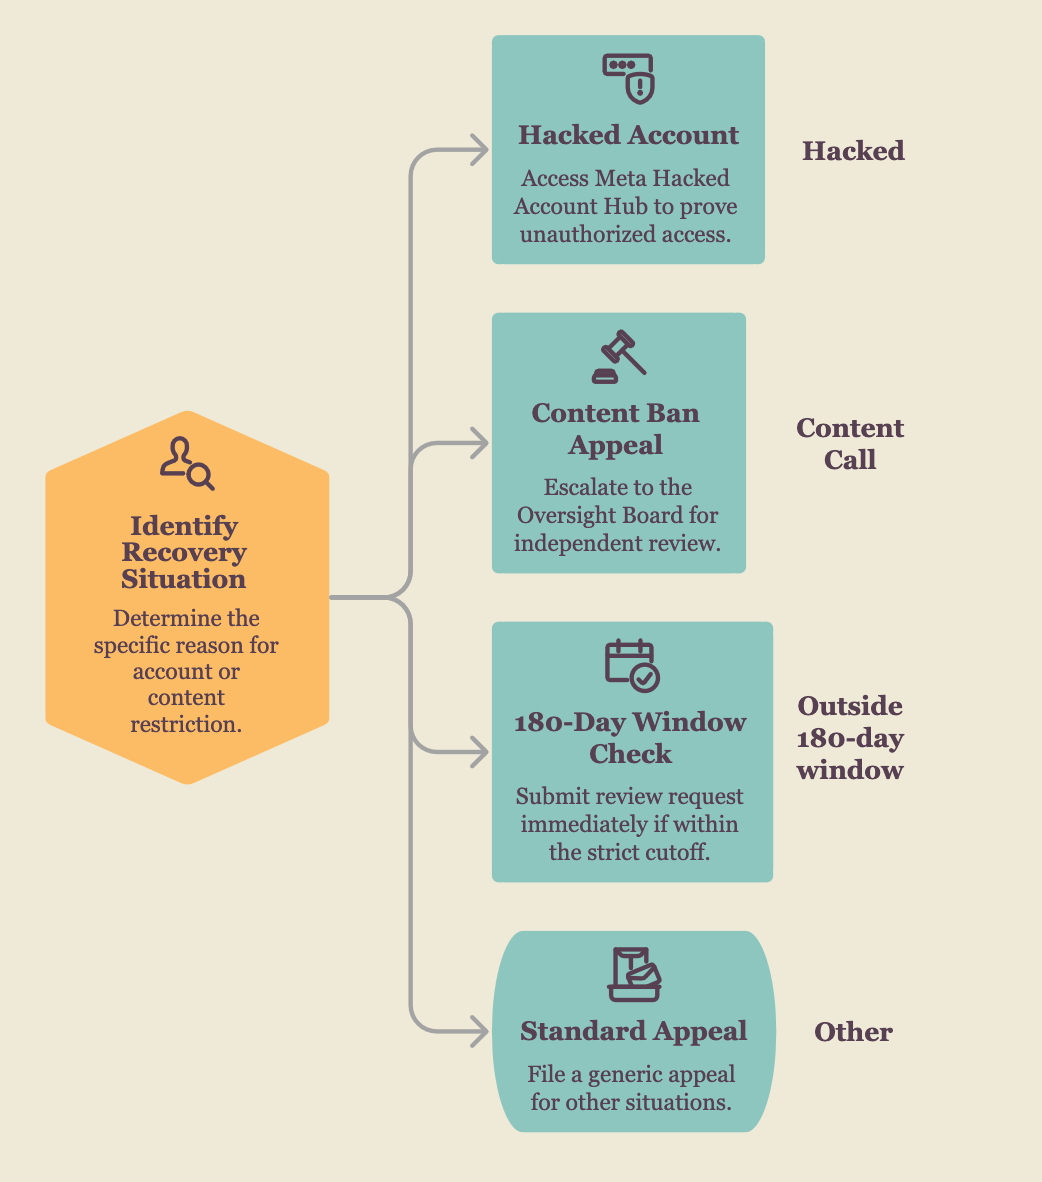
A few situations have specific fixes worth knowing before you file a generic appeal.
If you were hacked. Don’t file a standard appeal, since it won’t address the real problem. Go straight to the Meta Hacked Account Hub, built specifically to prove unauthorized access and restore control faster than the normal review queue.
If the ban feels wrong or is based on a content call. For complex or high-profile content decisions, Meta allows a further appeal to the Oversight Board, an independent body with the power to overturn Meta’s own rulings. This route is slower, but it exists for cases where the standard appeal has already failed.
If you’re outside the 180-day window. Meta enforces a strict cutoff for appeals on disabled accounts, so don’t sit on a disabled notice; submit the review request as soon as you see it.
Before You Submit
- Keep the tone calm and factual; aggressive language in an appeal typically slows things down rather than speeding them up.
- Have your ID ready before you start, so you’re not scrambling mid-appeal.
- Check your spam folder daily once you’ve submitted, since Meta’s responses often land there.
- If your first appeal gets rejected, wait a few days and resubmit with any new context rather than repeating the same request immediately.